LiteSpeed can improve your Joomla website’s page speed several times over.
To start enjoying the speed optimization benefits found when using LiteSpeed Web Server on your Joomla website, you need to download, install, and configure the LiteSpeed Cache extension for Joomla.
The LSCache extension installation package for Joomla consists of 4 parts: a component, a plugin, a module, and an ESI (Edge Side Includes) template (something that helps manage public cache public and private dynamic content on the same page – e.g. guest and logged-in users). It’s very easy to install and configure.
How to install LSCache for Joomla #
- Start by downloading the extension from LiteSpeed’s GitHub repository. Example: navigate to /lscache-joomla/package/ and download lscache-latest.zip
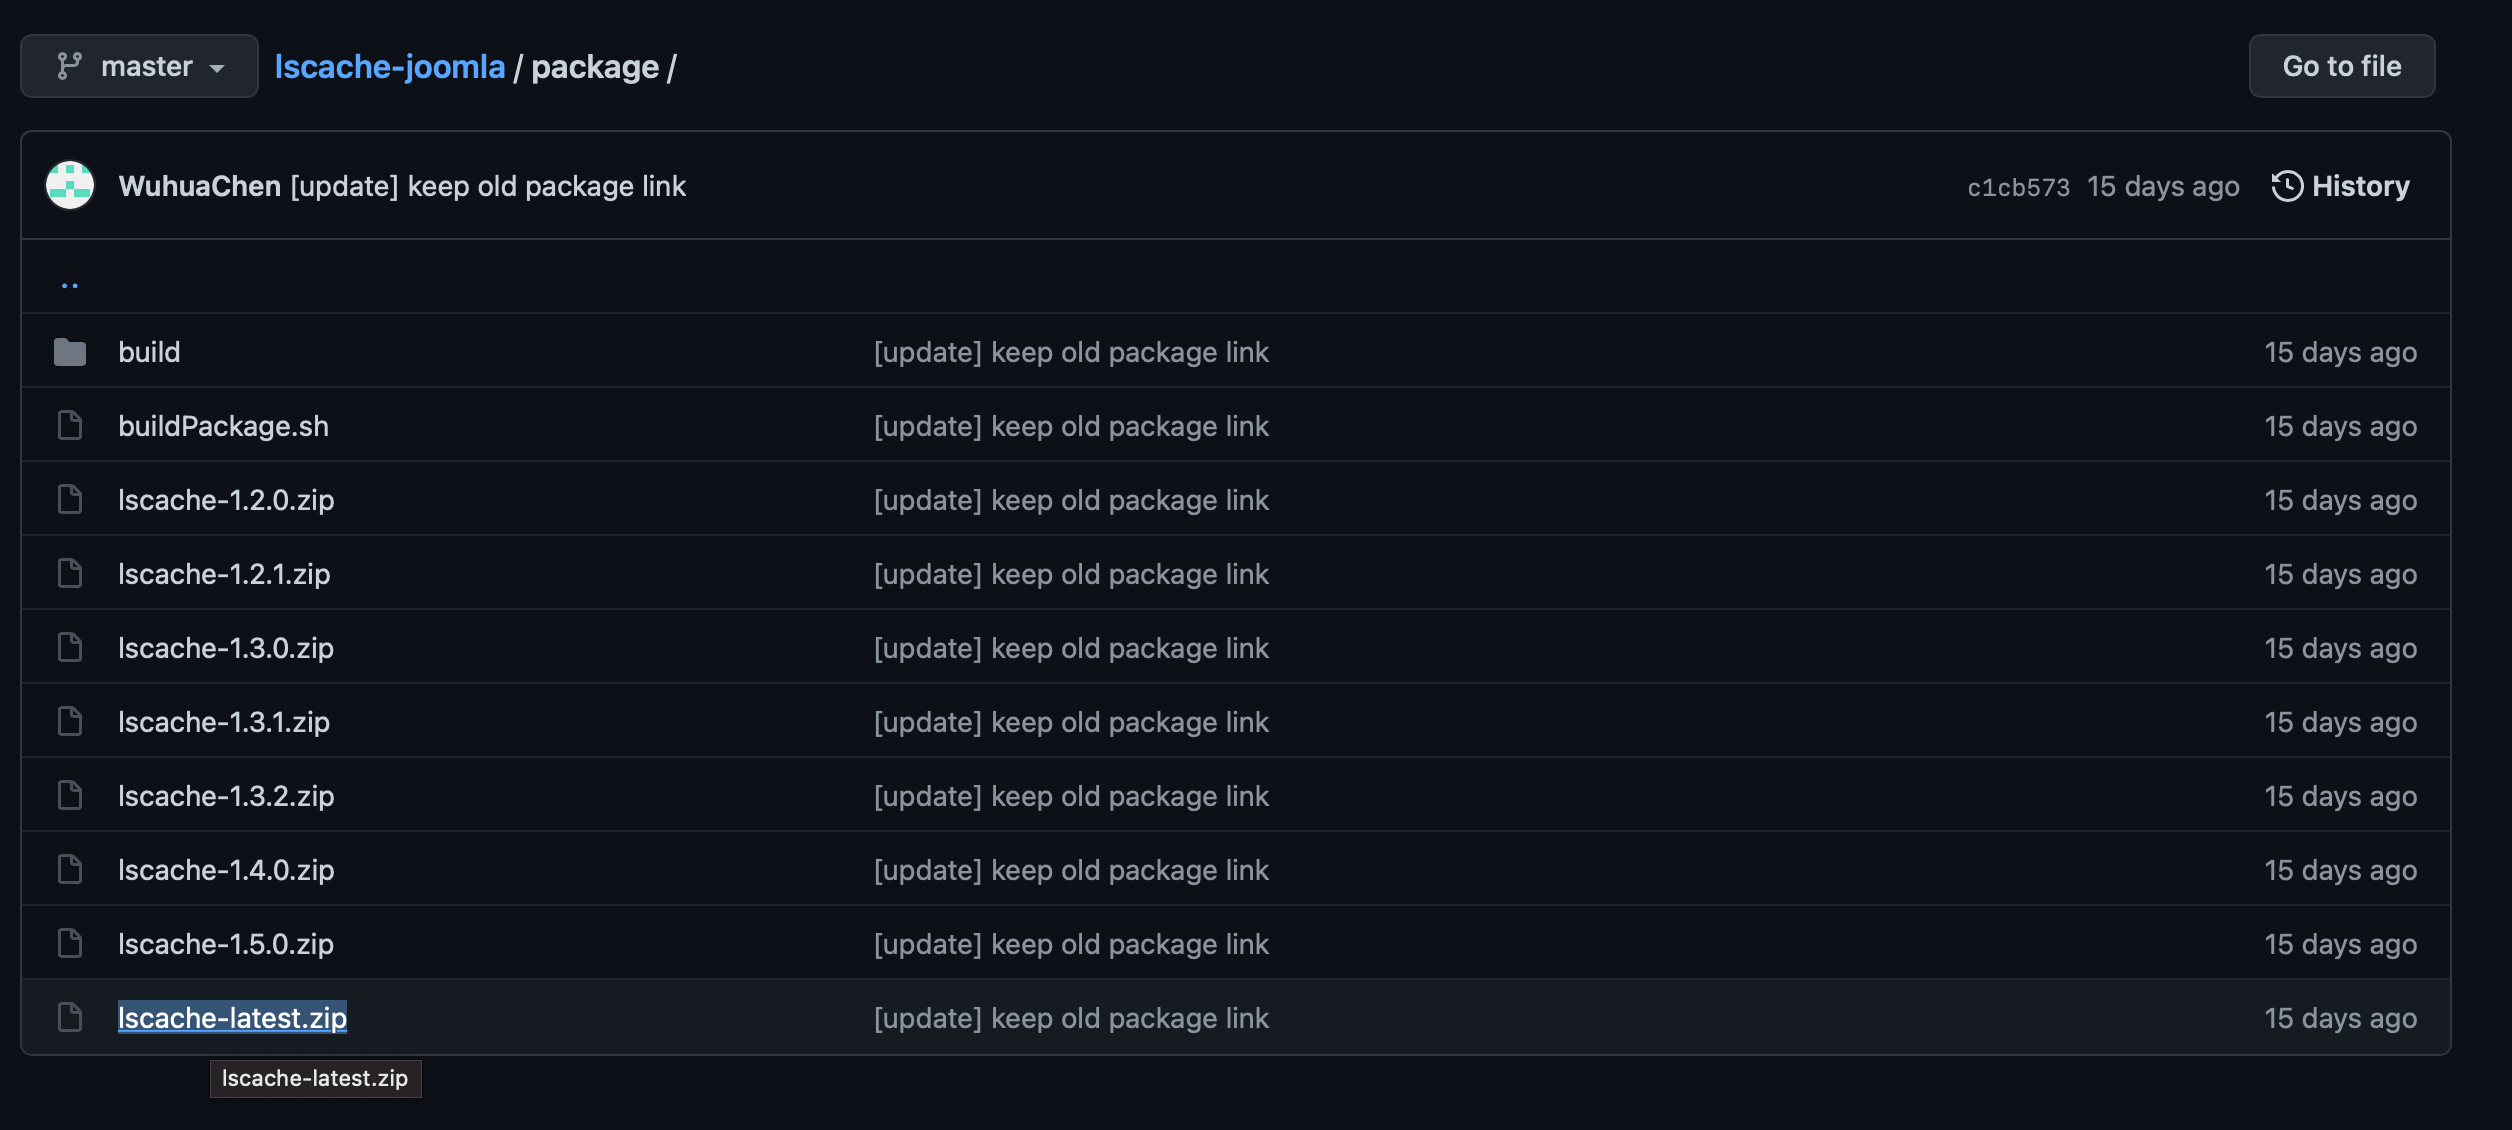
- Then, login to your Joomla administrator area (https://yoursite.com/administrator/)
- Navigate to Extension > Manage > Install

- Drop the extension you downloaded onto the install window or click “Or browse for file” to upload
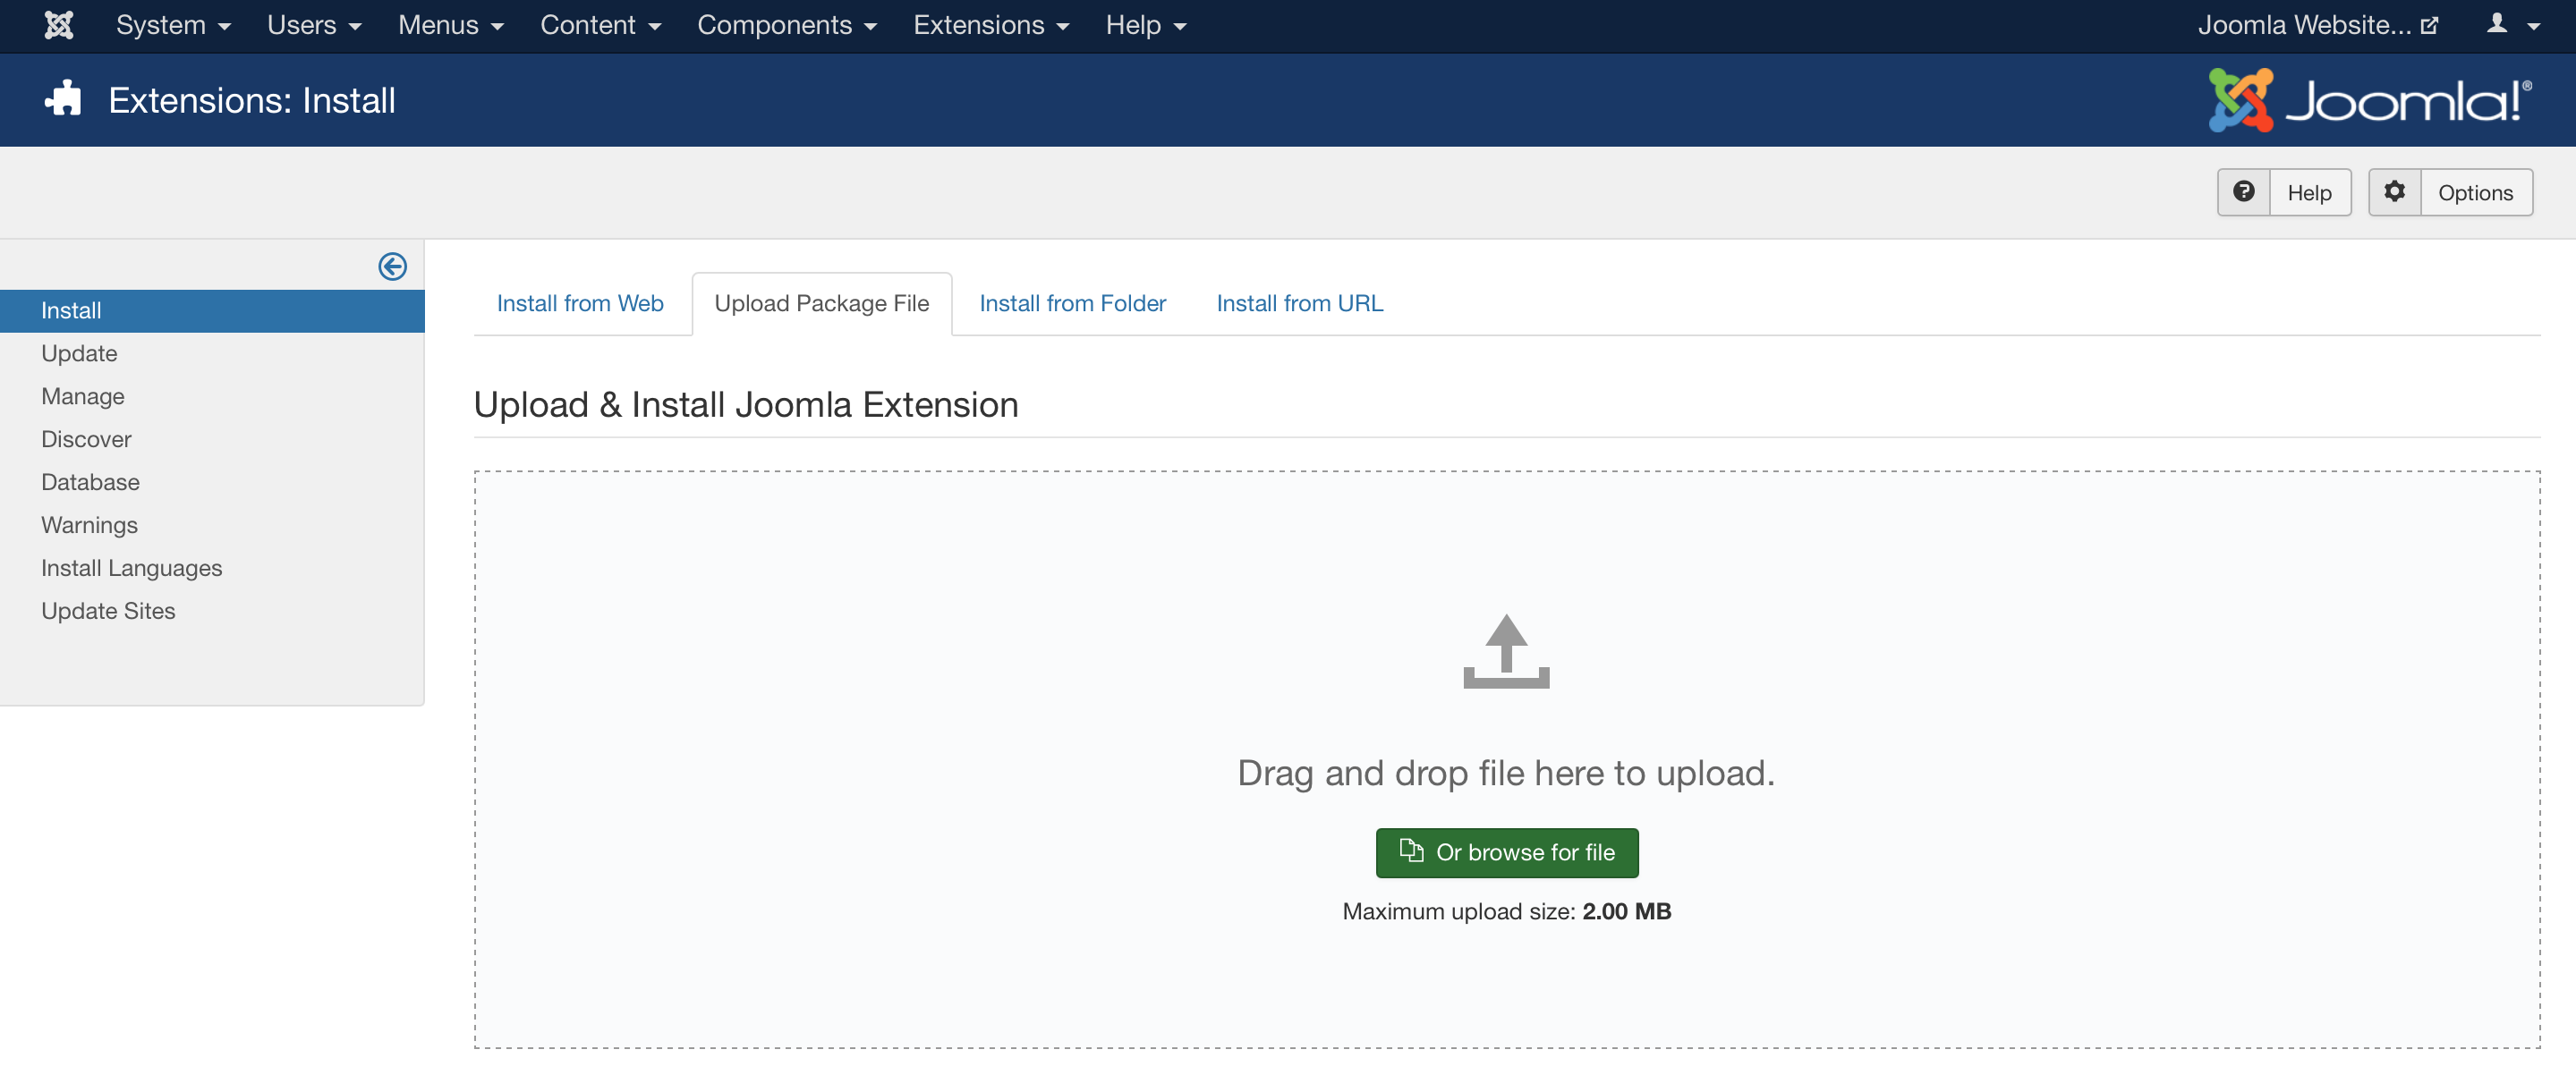
- You should then see an installation success message

LSCache is now installed on your Joomla website.
Configuring LSCache for Joomla #
After installation is complete, configuration is really easy. Each part of the extension should be enabled by default after installation. If you have the Joomla cache plugin enabled, it should also be automatically disabled for you. You can verify it is disabled by visiting extensions > plugins > and searching for “cache.”
- To configure the settings for LSCache you will need to login to your Joomla administrator area and navigate to Components > LiteSpeed Cache
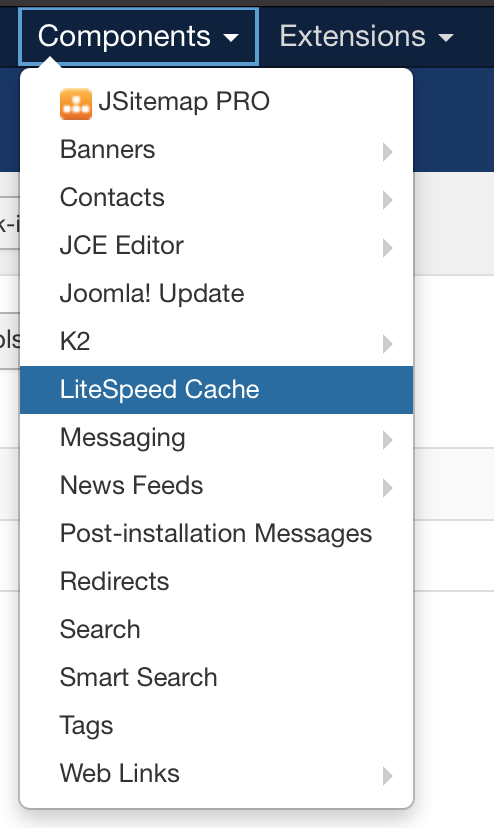
- Click on “Options”

- For most use cases, the settings here can be left at the default setting. If you’re actively working on your site, you may want to disable the cache here and re-enable once done.
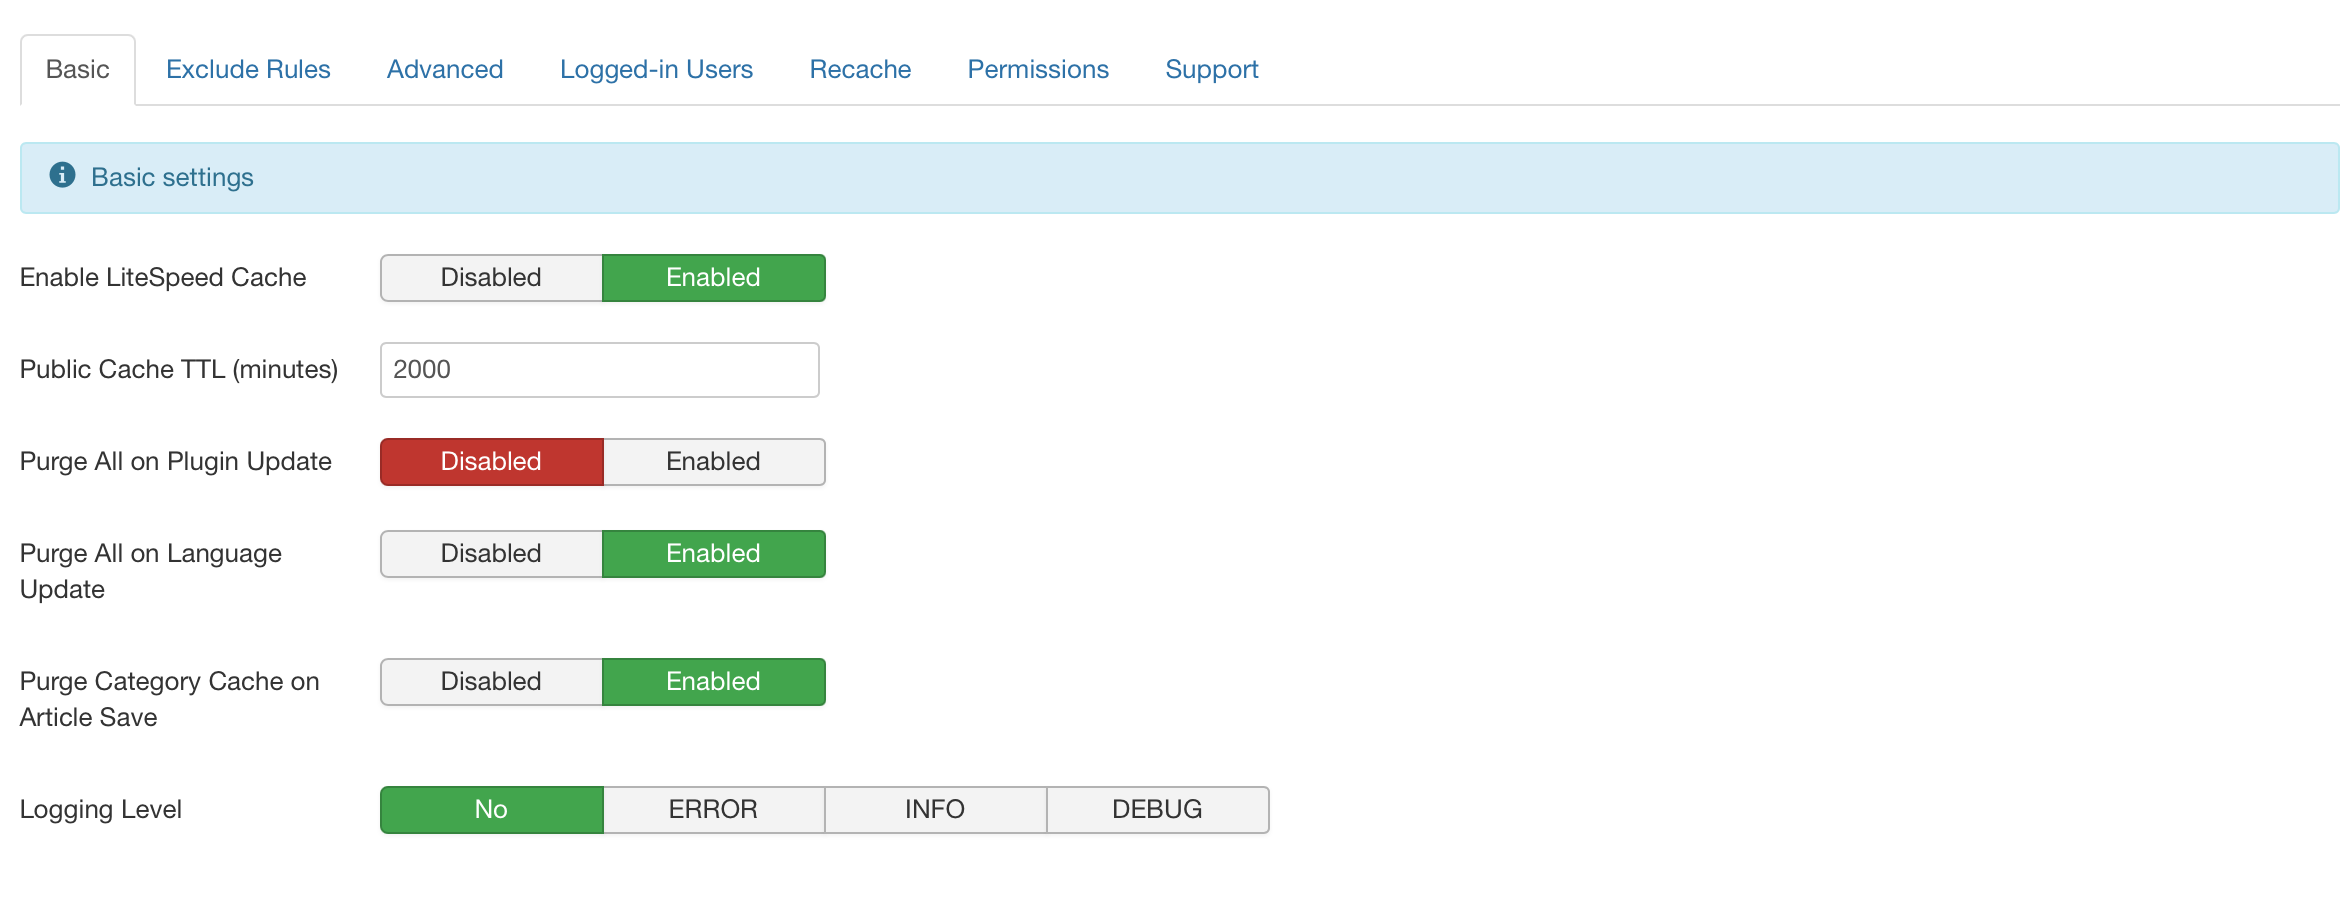
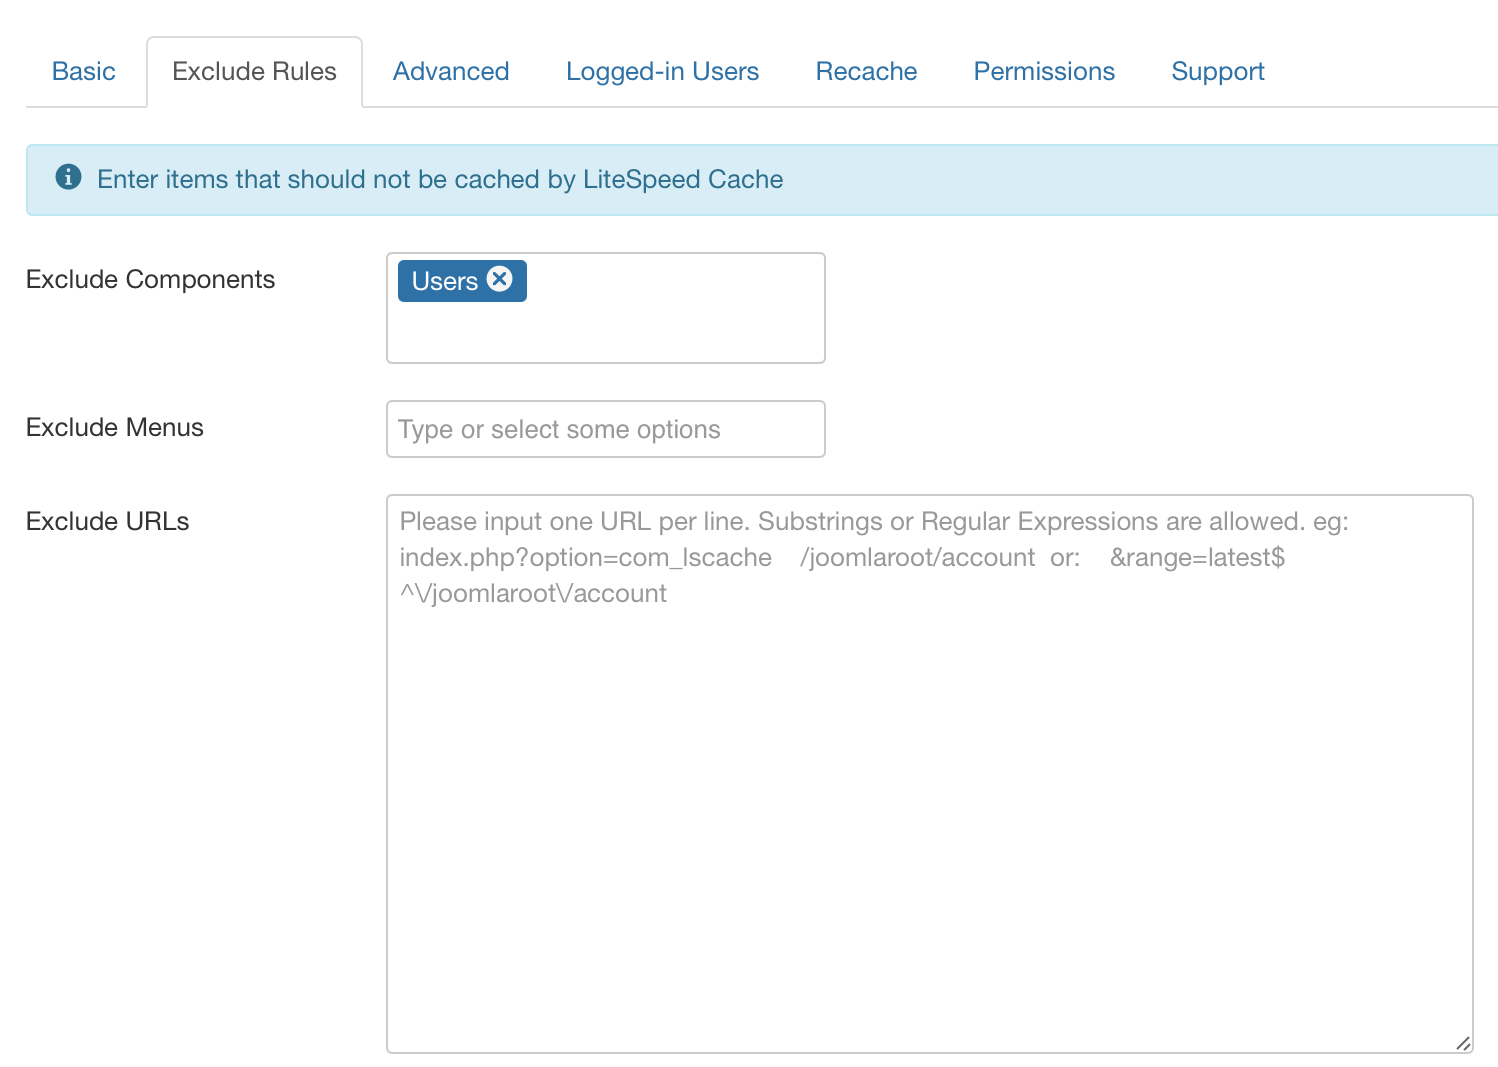
- If you find that you’re having issues with specific components, menus, CSS styles, or javascript files, you can exclude them specifically under the “Exclude Rules” tab. For specific pages or files, you can use relative links (e.g. /plugins/plugin_name/)
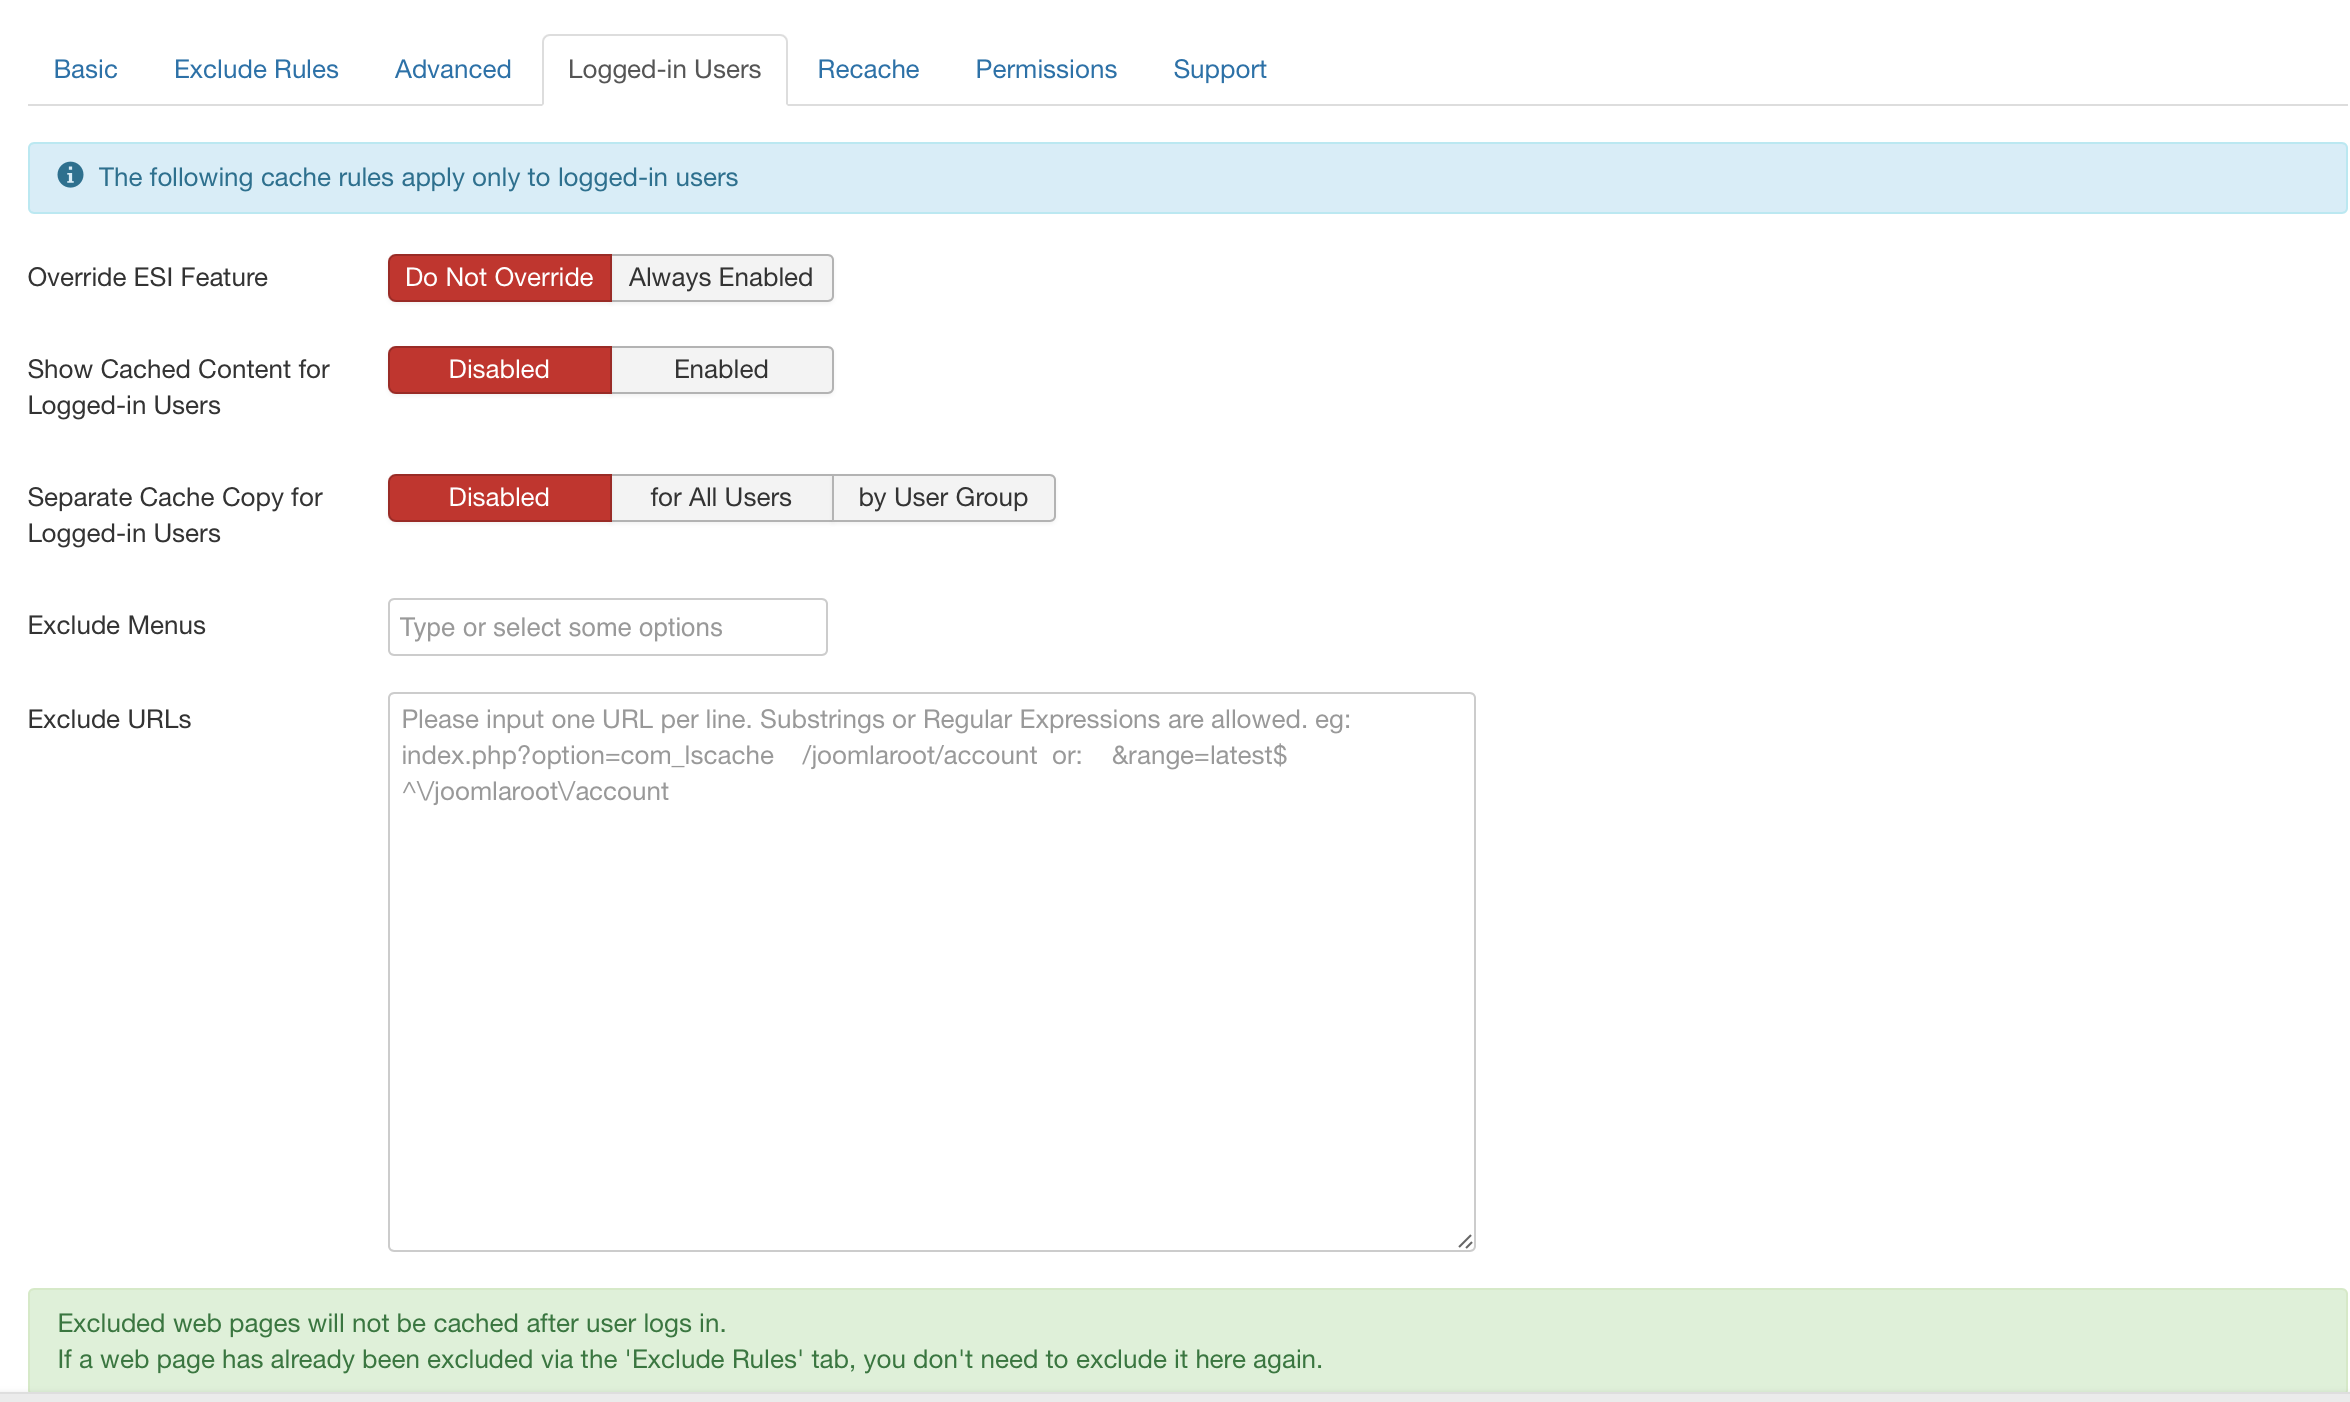
- If you have a membership site where users are logged in, you may want to review/modify settings under the “Logged-in Users” tab. For example: enabling “Show Cached Content for Logged-in Users” should significantly improve page loads for those users. You have granular control under this tab for specific user groups as well.
- Modify any remaining settings per your use case and click “Save.”

Clearing LiteSpeed Cache in your Joomla site #
This one will come in handy. While LiteSpeed Cache should be automatically purged when you make changes to your articles and extensions in Joomla, you might occasionally find the need to manually clear your cache manually after making changes. To do this, simply visit the administrator area of your website, and go to System > Clear Cache and clear your cache as you normally would on your Joomla website. You can then rebuild your cache via the “Rebuild All Cache” button. This will present the latest content to your site visitors reflecting any recent changes you have made.
Additionally, you can navigate directly to Components > LiteSpeed Cache and click on “Options.” Then click on the “Purge All Cache” button. Done.

If you need additional information on LiteSpeed’s Joomla extensions, you can take deeper dive into their documentation.
If you need any support or have additional questions, please drop us a ticket so we can help.
