A while back we took a look at how you can easily manage all of your Apps from your client area at getsimple.net. Today we’re going to take a look at sub-accounts.
Sub-Accounts are an often all too underutilized tool of our client area at getsimple.net which is now even more powerful than before. Sub-Accounts allow you as a client to assign users with permissions to various functions who can then carry out a variety duties for specific purposes that you only want your users to have access to perform. Whether you’re wanting someone to have access to billing, support, domain, hosting services, and more, Sub-Accounts give you the power and control over who can do what–all from your client area.
How Can You Use Sub-Accounts?
There are plenty of use-case scenarios we could look at, but let’s look at just a few common examples you may find useful for Sub-Accounts:
Billing Managers
Many companies have a dedicated billing or accounting manager or department that is responsible for keeping track of financial records such as receipts, payment information, or who may need support for any financial information associated with your services. You can allow them access to invoices and/or billing support and to receive notices from billing all through setting them up with a sub-account.
Web Designers
You may be working with website developer or designer to build your website. You may want to give this person or company access to our support or to your hosting services without giving them access to billing information or account info. This would allow them access to manage your hosting service, access your cPanel services such as file manager, email accounts, and more.
Domain Management
Suppose you have someone in your company or organization that you want to setup Google Apps on your domain. You could simply allow them access to the domains section of your account or the hosting services area of your account so they can add the mx records necessary to point your mail to Google Apps.
How Do I Setup a Sub-Account?
It’s simple:
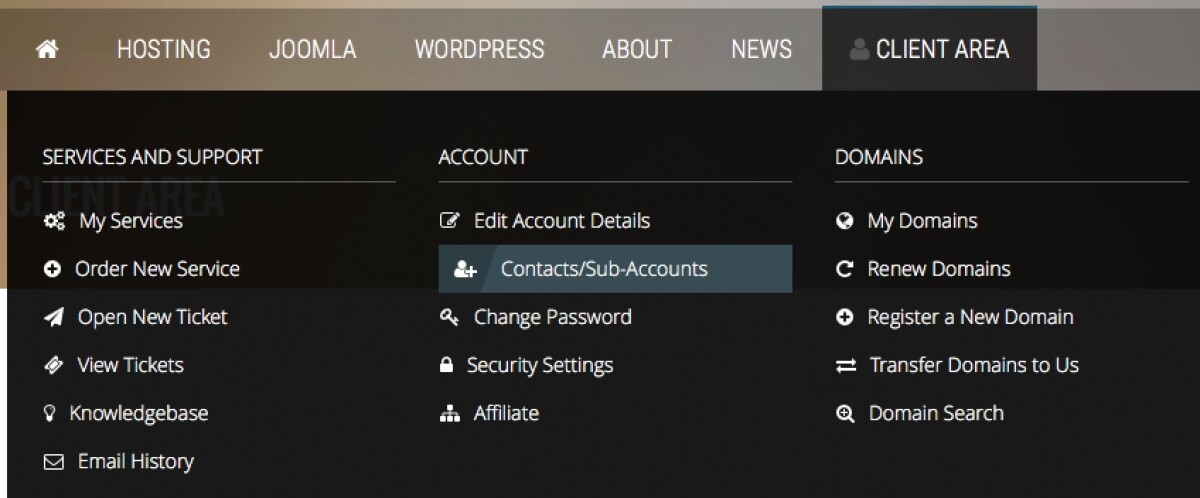
- just login to the client area and click on “Contacts/Sub-Accounts”
- enter in the user’s name and contact information
- tick the box under “Activate Sub-Account” next to “Tick to configure as a sub-account with client area access”
- tick the boxes for what you want the user to have access to under “Sub-Account Permissions”
- tick the boxes under “Email Preferences” for which notices you would like the user to receive
- click “Save Changes”
And viola! You have now put the power of Sub-Accounts to good use–delegating roles to someone else in your company, organization, and/or to a third party vendor to securely do work for you.


